See also: AC Reference Guide pg. 242
A skylight is like a window for a roof. It's an object which has the ability to cut a hole in a roof.
The AC library contains several skylights at Object Library 9/07 Therm and Moist Prot/Dormers and Skylights.
I haven't made any literal skylights, so if you need one use the AC library.
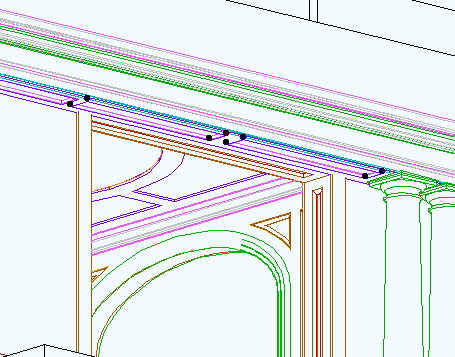
Why am I telling you about this now. Like windows and doors, the primary function of the tool is to place building elements of those types, but there's other generic uses for the hole-cutting functionality. Such as the Trim Panel window, which is a pretty poor window from a light-and-ventilation standpoint.
So my first skylight isn't a skylight, it's a trim panel. More on this soon; I wanted to discuss the tool in a general way first.
Placement Like windows have to be in a wall, skylights have to be in a roof. To place a skylight, set up the skylight tool and click over a roof.
OK, full disclosure, they don't have to be in a roof. If you place it outside a roof, you will get a warning, but the object will be created. If you move the skylight over a roof, it will become linked to that roof. The real meaning of the warning is that the skylight isn't linked to any roof, which pretty well defeats the purpose.
You will also be warned if the skylight overlaps an edge or a hole, including another skylight. Touching an edge is OK.
The skylight automatically orients itself along the slope direction, and tilts to match the slope angle. If the slope changes, the skylight adjusts itself. If you rotate or mirror the roof, the skylight follows. If you copy the roof, the skylights are copied too. If you rotate the skylight, well, you can't; it will re-align itself.
The Hole Roof holes are not as feature-flexible as wall holes. Hopefully future versions will be better. Hey, they're better than slab holes, which are in heaven waiting to be born.
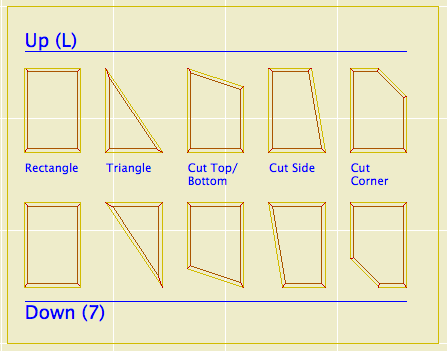
Skylight holes are always rectangular. There are round, etc., skylights in the AC library, but they cut rectangular holes, and the object fills in around the round part with roof-matching material. Trouble is, there's no way to not-draw the edge of the hole; the lines are there no matter what the skylight does. The current GDL doesn't offer a way around this.
The roof hole is cut with particular edge angles. The sides are vertical (fine by me), the top is horizontal, the bottom is vertical. You can select the roof or the hole and edit the edge angle normally. Trouble is, if there is any change in the skylight, the hole is regenerated from scratch and those default angles come back. And I mean any change, even a pen. Dragging it, stretching it too. If you change the roof slope, the skylight is regenerated, and the angles revert. If you copy a skylight, the new one will have default angles.
If those angles work for a given application, then good. But for the trim panel, we want perpendicular angles top and bottom, permanently. Again, GDL does not currently provide a way to control this. It can be quite frustrating.
Layers Unlike doors and windows, skylights have their own layer. The roof can be hidden, and the skylight show. This is mostly for the good, but there is a side effect: If you select the roof and go to 3D, you don't see the skylights. If you select the skylight, you don't see the roof. (Where with doors and windows you get the opening and the wall either way.) Also, if you hide the skylight's layer, you still have a hole.
A typical skylight-type skylight should probably go on the same layer as the roof. The trim panel skylight can be handled as trim; if you want to see it in RCP, use the layer F Trim Crown.

