Location: 01 General / 3 Drawing Tools
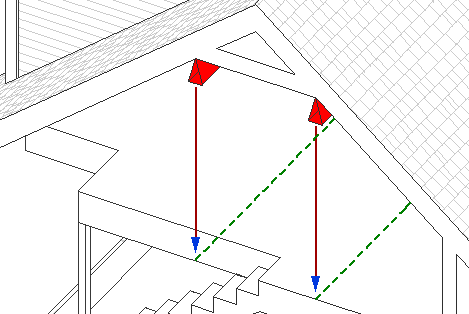
To help locate overhead ceiling lines. This is a little weird but you'll get it.

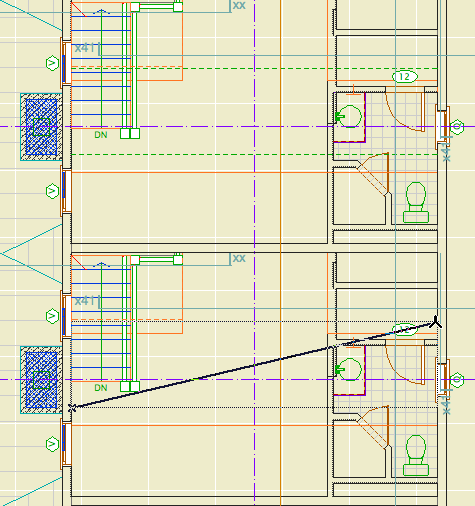
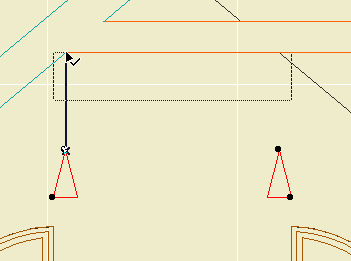
In 3D, it's a long isosceles triangle, or two triangles if you want to place a pair of lines. In plan, it's a dashed line, or a pair of lines.
Place the object in the plan. Use the layer you want for the ceiling lines, either A Ceiling2 or A Soffit2.

Open a section through the object. In section, drag it to the intersection of the wall and ceiling.

To place one line, use the 'Single' setting. To place a pair, use 'Pair'. For a pair, the separation is the width of the object. Measure the needed distance in the section.
Back in the plan, select the object and explode it (Cmd+=). Now you have lines in the proper place, and the 3D stuff is deleted. You might have to edit the lines to accommodate dormers, etc.
Notes:
• It's like this: You know you can use a section to determine where the lines go. You could just measure. It would be nice to use the section to place the lines directly, but you don't actually want any 3D stuff left.
• The line type is controlled by a parameter, not by the floor plan line type setting of the object. The default is 'Dense Dashed', and you probably won't need to change it.
• The object is pen 10 (non-print) in section; just in case you forget to explode one.
