In creative GDL, windows are about the most complex things there are. Yet to slabify a window is no harder than a regular object.
This example is for an silly piece of glazing, but you could use the same technique for a custom trim panel 'window'.
1. Build slabs to model the parts of the window: the sash, the frame, the glass. Give each part a descriptive ID. This helpful when modifying the autoscripted window. In addition to all the visible parts of the window, draw another slab in the shape of the hole you want cut in the wall. This slab must have the ID ‘wallhole’.
Use distinct materials for the parts. (Use appropriate materials, unless you plan on modifying the script.) It might help to cut a section to align the parts.
2. Position the whole assembly so the origin is at the bottom, in the middle of the window. In the Z direction, elevate the whole assembly so it lies directly on top of the origin. Section helps here too.
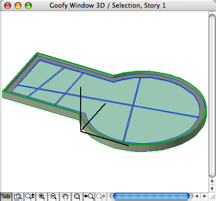
Here’s the whole thing in 3D, without the wallhole slab. Not our typical style, but...

3. Select all the parts and go to the 3D window. Go to File > GDL Objects (or Libraries and Objects) > Save 3D Model As. Save the window in a loaded library. (Probably the project library, right?)

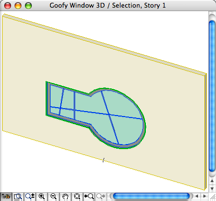
When the window is saved, the ‘wallhole’ slab is turned into a hole and deleted.
Like any slabified object, it's not smartly stretchy by nature; it would become distorted.
