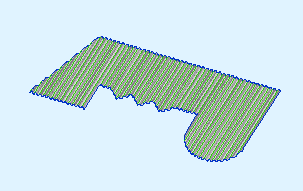
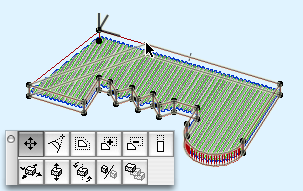
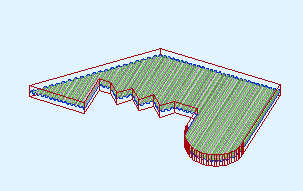


Location: Doesn't matter.

Unlike the room name object, the name and number are not parameters. They are native settings of the zone, and are available at the top of the settings dialog or info box. Further, the font and text size for the room name are settings of the zone.
The rest of the parameters are in the 'Zone Stamp' area of the zone settings dialog.
Zones are information elements. They represent rooms and other definable areas and volumes in the project. You don't need them to build a good model, and you don't need them to create good drawings. They make the project smarter by letting you treat a space as a thing, so you can keep track of information associated with rooms as opposed to their enclosing elements.
Zones' responsibilities can include:
• Displaying the room name and number in the plan
• Reporting room dimensions such as area and volume
• Holding on to descriptive data for use in a room finish schedule
• Automatically naming interior elevations
• Giving locations for a fixture schedule
Location: 08b Windows / Vents (A window)
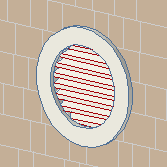
Louver parameters: Thickness, Spacing, Angle. The Louver Pen should be thin.
Exterior casing: Typical moulding options, or custom width and thickness.
Interior casing: Same deal.
Either casing can be turned off. The same Casing Reveal is used for both.
Masonry Cut Depth: Same as a window or door. Sill is drawn with the Masonry Sill Pen, though in most cases you would not see this vent in plan.
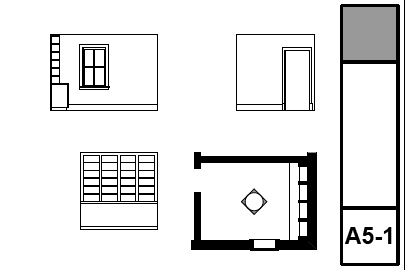
Most of the advice about sections and elevations applies to interior elevations as well. We do interior elevations because the larger scale lets us show more information. Some of this information is already in the model and the scale change reveals it. Some of it is fine modeling that doesn't need to be done until you start the interiors. Some is very fine detail that is done in 2D within IE windows.
Use the interior elevation tool. It's fussy but it works. I recommend always using the polygon method, never the single line method. There are two reasons for this. First, often you think you only need to elevate one wall of a room, but later you need another wall. Second, polygon IEs are easier to select because you can grab them by the marker.
The interior elevation tool is like a compound elevation tool geared towards presenting rooms rather than whole buildings. It creates a group of sub-viewpoints within a header viewpoint. The header viewpoint is a polygon, which is, in turn, generally associated with a room. Each edge of the polygon shows one wall of the room, in its own window. IEs can be made aware of zones such that they fit themselves to the zone height and automatically name the viewpoints after the zone. The polygon can be complex, though that makes the markers tricky, and they can be a single line/wall.
IEs have some frustrating and obvious limitations, extra-frustrating for being so obvious, but I think you can be productive with them. Sometimes. So a lot of this is workarounds, some more successful than others.