On Land

Environment Information
At Rill Architects we run ArchiCAD on macOS. If you work at Rill, this is your stuff. If you don't, but you work in ArchiCAD, you may find something interesting. Anybody else, I don't know.
RSS
May 2008 Archive

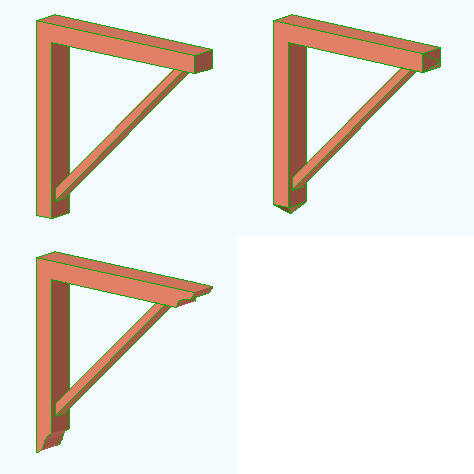
Bracket Strut JM9: More top and bottom end shapes: Cove, chamfer, and fillet.

Chamfer Cutter JM9: Chamfer multiple corners at once.

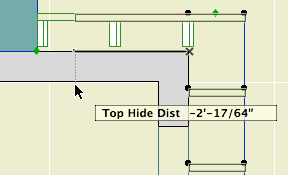
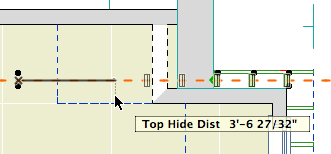
Rafters Decorative JM9a: Like the eave ladder, you might want to see exposed rafters in the reflected ceiling plan. But you need to be able to hide the portion of the rafter object that is hidden by the main roof. Adjust the Top Hide Distance to meet the main roof cut:

Hide rafter top

Location: 06 Wood & Plastic

A sloped series of boards to support a flying rafter.

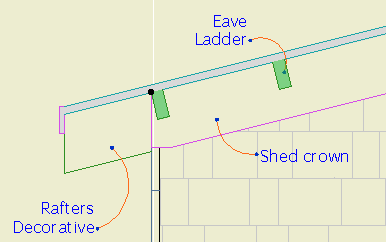
This thing is hard to show in place; here's a section through the eave of a dormer, showing the dormer wall in elevation:

Eave ladder section

The Roof Slope can be selected from a familiar list of n/12 slopes, or you can use a custom angle.

You can choose the board Stock from the list, or use a custom Height and Width. Spacing is measured along the slope.

eave ladder plan
The boards are shown in plan as a bottom view, taking the roof slope into account. By default, all the boards are shown.

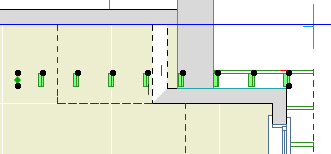
eave ladder RCP
Why a bottom view? This is a trim object, and will often go on a 3D-only layer such as F Trim Ext Hi. You would never see it in a regular plan. But you might want to see it in a reflected ceiling plan.

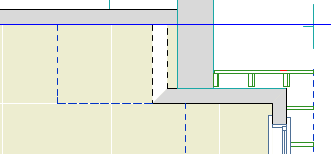
eave ladder hide edit
But in the case of this dormer, you would want to hide the boards that are obscured by the main roof. Stretch the Top Hide Distance to do this.

Location: 06 Wood & Plastic / Brackets

An Arts & Crafts type bracket. Parameters: Length, height, width, top/bottom thickness, top/bottom end treatment, strut thickness, width, and top/bottom inset.

The end treatments are Square, Ogee, and Pyramid. May 2008 update: Cove, Fillet, Chamfer.

You can turn on "Both Ends Same" to use the same values for the top and bottom. In this case, the bottom-related parameters are hidden.

Most of the parameters are editable in 3D.

Though I kept the '9' in the name, this is for Archicad 11.


Originally posted 2005-03-29

Location: 06 Wood & Plastic / Trim & Moulding

A series of battens for board and batten siding. There are parameters for Width, Thickness, and Spacing. For a single batten, set the spacing to zero.

In order that you can do a whole wall with one Battens object, you can have up to eight Holes in the batten arrangement. Turn on as many holes as you need and fit them to the windows and doors. You can do this in section or elevation using the editing hotspots.

Battens 1
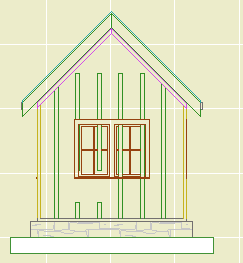
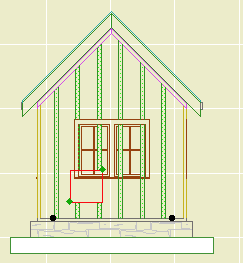
This is an excellent throw-down-and-fix situation. I placed the object along the wall in plan. Now I can fine tune it in elevation. Note the gap in those two battens; that's one hole.

Battens 2
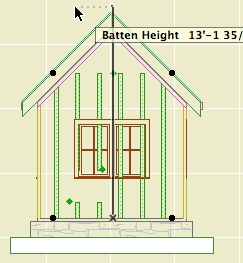
You can stretch the height using the editing node at the center of the top. The ordinary nodes at the ends won't work, don't ask me why.

Use solid ops to trim the battens to the roofs.

Battens 3
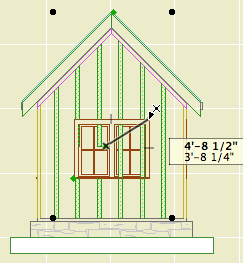
Each hole has two editing nodes. The lower one moves the hole, and the upper one stretches its height and width. The red box shown here is optional; turn on the Show Holes parameter if it makes it easier. You can still edit the hole if the box is not shown.

Battens 4
Position the hole first, then stretch it. In most cases, you'll do this by detecting the intersections at the casing corners.

Battens 5
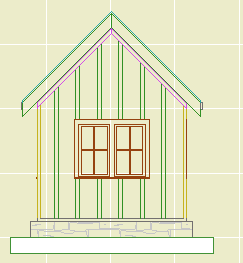
So that's that.

Battens 6
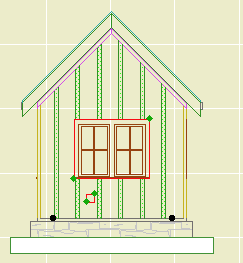
If you need another hole, turn it on by increasing the Holes parameter. By default, additional holes will appear at a small size at the bottom of the object.

Battens 7
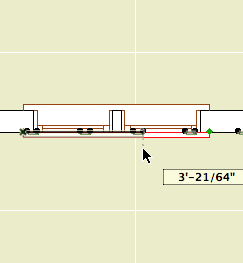
With Show Holes on, the holes are also visible in plan. But to align the holes precisely (not to mention vertically), you need to work in section or elevation. Hole editing will also work in the 3D window, but you won't be able to snap to the casings very effectively.

Download (AC11)